What happens during surgery?
Before we describe the procedure, let's look first at the artificial thumb joint itself.
The Artificial Thumb Joint
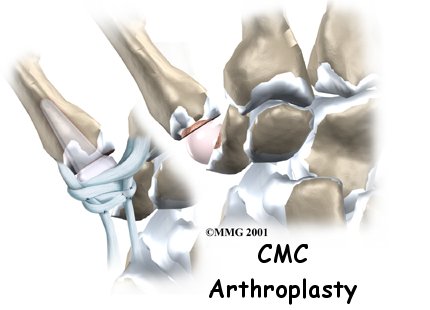
Surgeons have several ways to replace the thumb joint surfaces. One way is to attach the ends of a prosthesis implant into the bones of the thumb joint. A newer method uses a small, marble-shaped implant to form the new joint surfaces. This spherical implant works like a ball bearing to give the joint a smooth arc of movement.
The Operation
The procedure to put in the prosthesis implant takes about two hours to complete. The newer method using the ball implant takes 30 to 60 minutes. Surgery may be done using a general anesthetic, which puts you completely to sleep, or a local anesthetic, which numbs only the hand. With a local anesthetic you may be awake during the surgery, but you won't be able to see the surgery.
Once you have anesthesia, your surgeon will make sure the skin of your hand is free of infection by cleaning the skin with a germ-killing solution.
Prosthesis Implant
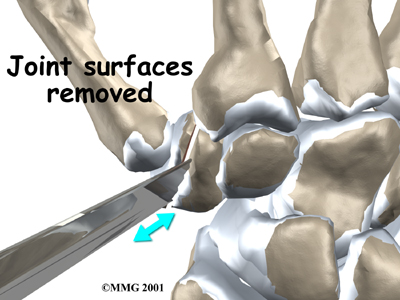
In this procedure, an incision is made across the base of the thumb. The soft tissues are spread apart with a retractor. Special care is taken not to damage the nearby nerves going to the thumb. The joint capsule is opened, exposing the CMC joint. The ends of the bones that form the CMC joint surfaces are taken off, forming flat surfaces.
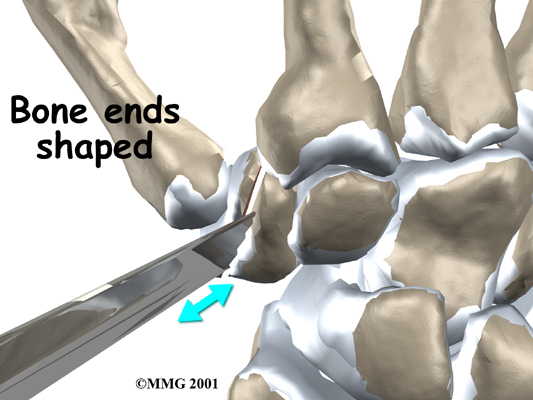
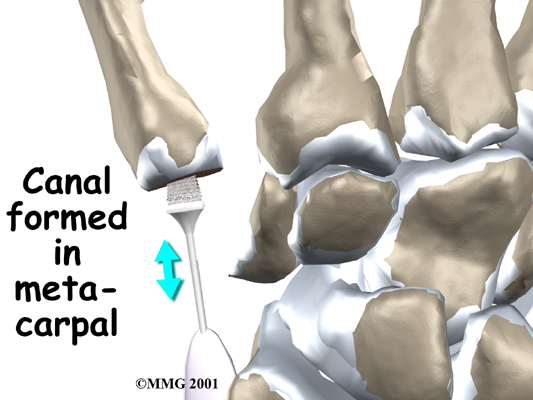
A burr (a small cutting tool) is used to make a canal into the bones that form the thumb joint. The surgeon sizes the stem of the prosthesis to ensure a snug fit into the canal and inserts it. When the new joint is in place, the surgeon wraps the joint with a strip of nearby tendon. This gives the new implant some added protection and stability.
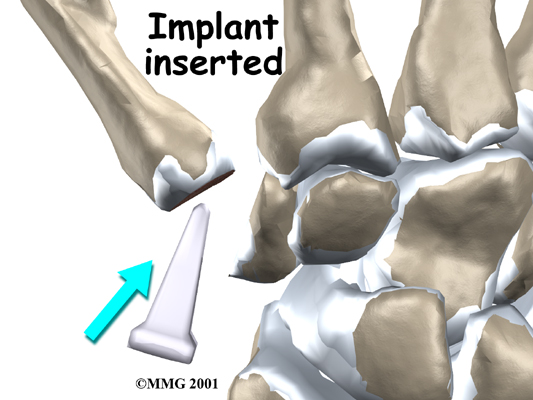
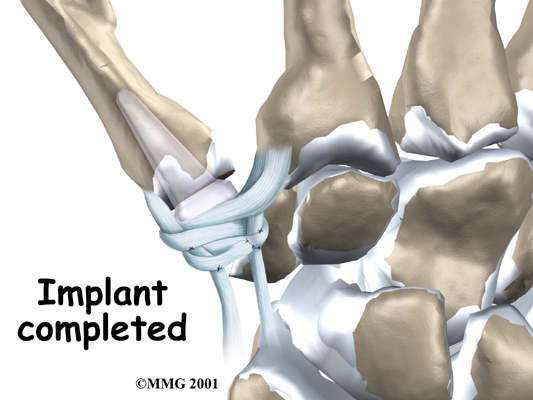
The skin is stitched together and a splint applied.
Spherical Implant
A new method for replacing the thumb joint is to use a spherical implant that looks much like a marble. The surgeon makes a small, one-inch incision at the base of the thumb joint. The ends of the bones that form the CMC joint surfaces are removed, forming flat surfaces.
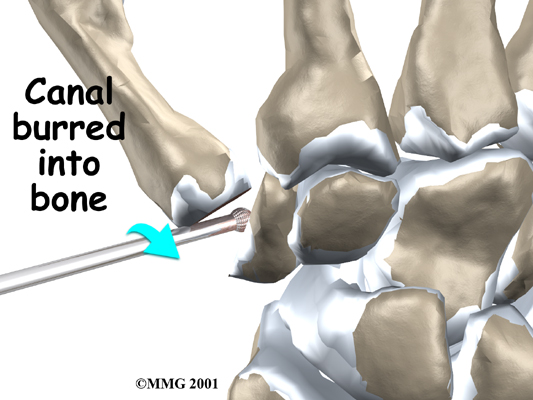
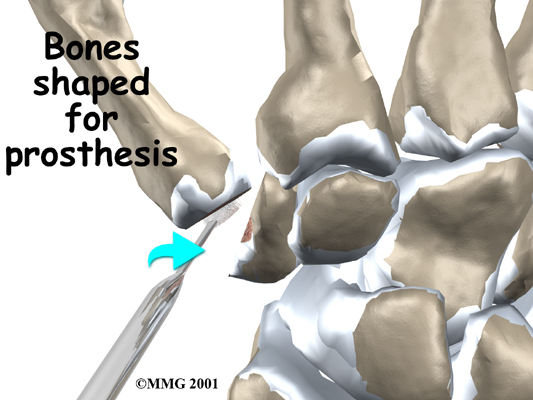
A burr is used to make a small notch, or canal, in the ends of the two bones. The surgeon shapes the notch so the ball-shaped implant will fit snugly in the joint. The implant is placed between the ends of the shaped bones.
The soft tissues are sewn together, and the thumb is splinted and bandaged.
View animation of joint surface removal
View animation of of canal formation
View animation of stem sizing and insertion
View animation of tendon strip addition



 (403) 679-7179
  concierge@one-wellness.ca

